Create a scan project
Scan projects are containers for files that you want to scan.
Identify the files that you want to upload for scanning.
Scan supports different files types for each programming language. For example, for Java, upload a JAR or WAR file.
If you are a hosted customer and role-based access control is turned on, your role must include the Create project action.
If role-based access control is turned on for your organization, verify that users have the correct actions, user access groups, and resource groups assigned to them.
In the Contrast web interface, select Add New in the top right corner.

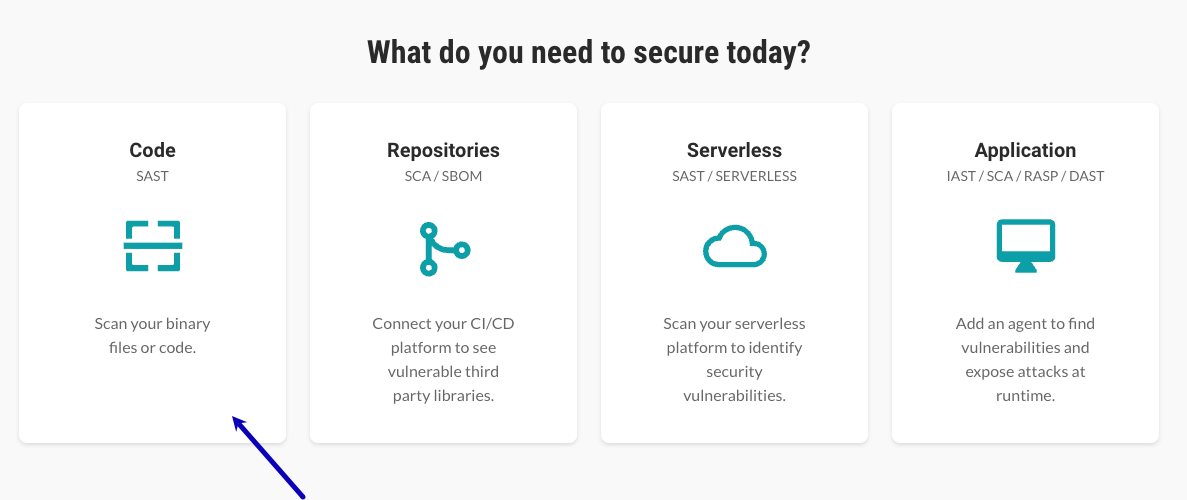
Select the Code card.

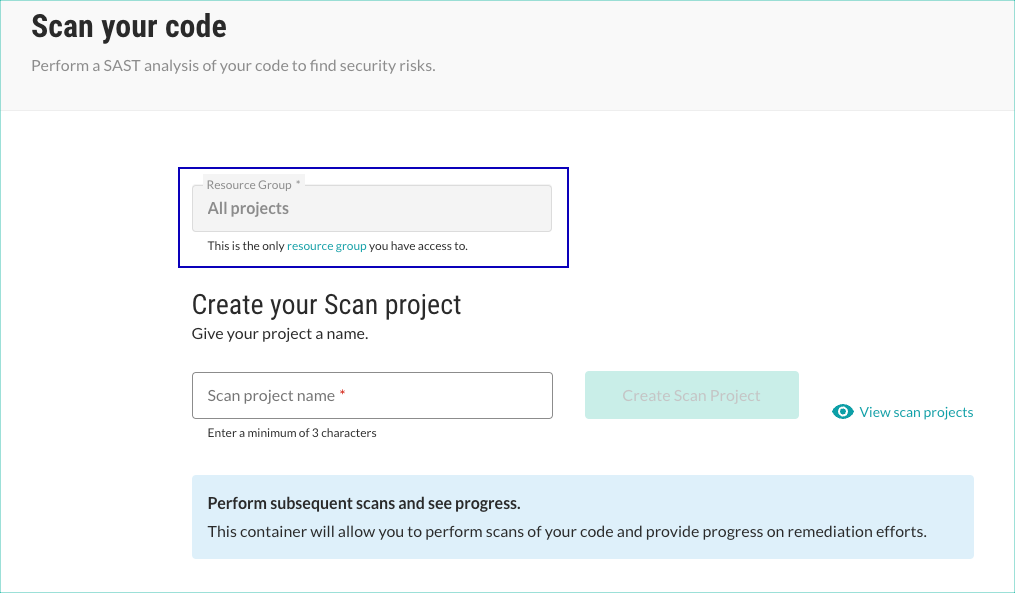
If you're a hosted customer and role-based access control is turned on, select a resource group from the dropdown.

If you have access to only one resource group, you don't select a resource group. Instead, you see the name of the resource group to which you have access.
If you're an on-premises customer or you are not using role-based access control, no resource group option is available.
Specify a name for the project.
Scan project names must be unique. Specify a name that lets you easily identify the scan project in other Contrast lists.
As a best practice, consider naming the project to match the name of the file. For example, if your file is
webgoat.jar, name your projectwebgoatorwebgoat.jar.Specify the values for the scan project metadata.
if metadata is required, you are unable to create the project until you specify the required metadata.
Select Create scan project.
Note
if you want to use an existing scan project instead of creating one, select View scan projects. This action opens the Scan project tab with your existing projects.