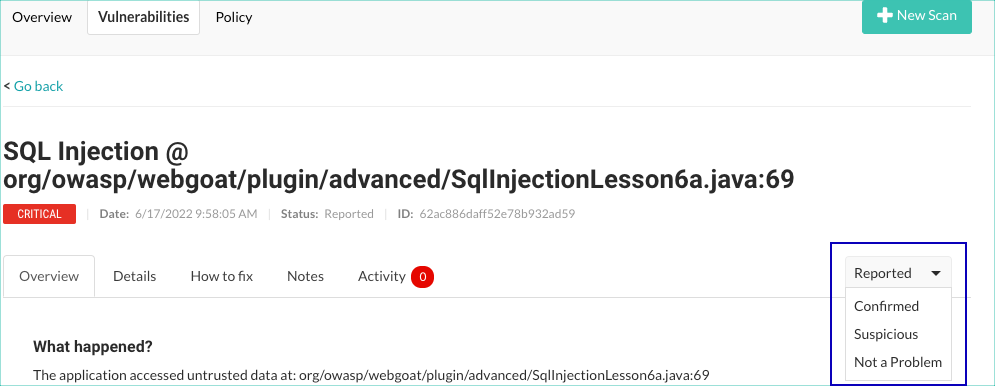
Edit scan vulnerability status
When Contrast discovers a vulnerability during a scan, it assigns a status of Reported to the vulnerability. This status indicates that the vulnerability could possibly be exploited.
You can change this status, based on how you are managing the vulnerability, to one of these values:
Confirmed: You've confirmed that the vulnerability is a true finding by reviewing the source code or exploiting it.
Suspicious: You've confirmed that the vulnerability appears to be a true finding based on the details provided, but it requires more investigation to determine its validity.
Not a problem: You've determined that the vulnerability doesn't require code changes.
If you change the status to Not a Problem, it never changes to Remediated or any other status, even if subsequent scans don't discover the vulnerability. To have the vulnerability assessed again, change the status to Confirmed or Suspicious.
Batch edit Scan vulnerability status describes how to edit multiple statuses at the same time
Steps
Select Scans in the header.
Select a Scan project.
Select the Vulnerabilities tab.
Change the status:
On the Vulnerabilities page, select a status in the Status column.

Alternatively, select a vulnerability from the Vulnerabilities list and select a status on the right side of the view.

Optionally, enter a comment explaining why you are making the change and select Override.
Add comments for a vulnerability without changing its status:

From the Vulnerabilities tab, select a vulnerability.
Select the Activity tab.
Enter a comment and select Add comment.