Add tags to applications
Use application tags to better organize applications and improve search functionality.
Select Applications in the header.
Add tags:
To add tags for a single application, hover over the end of the application's row and select the Tag icon (
).
Alternatively, go to the Overview page for the application and select the Tag icon (
) at the top of the list.
To add tags for multiple applications, select the check mark next to each application and select the Tag icon from the action menu at the bottom of the list.

In the Tag application window, start typing to view a list of existing tags. Select the tags you want to use or enter a new tag.
After adding tags, you can see them next to the application name in the Overview tab for the application.
To remove a tag, click x in the tag name.

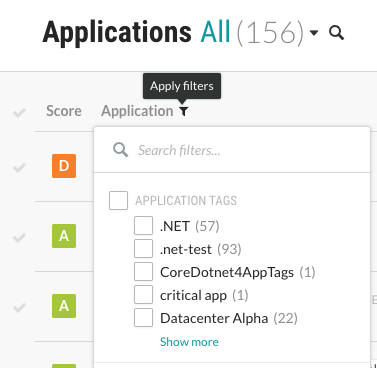
To use tags for filtering, select the Filter icon (
) next to the Applications column and select Application tags.
