Edit vulnerability status
To change the status of one or more vulnerabilities:
Select Vulnerabilities in the header.
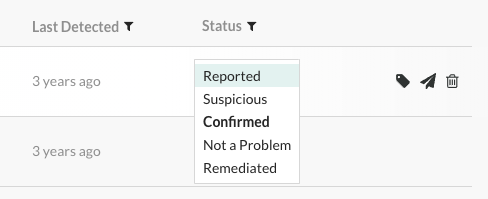
To edit a single vulnerability status, find the vulnerability you want to edit and select the status in the Status column. You can also change the status from a vulnerability's overview page in the top right corner.

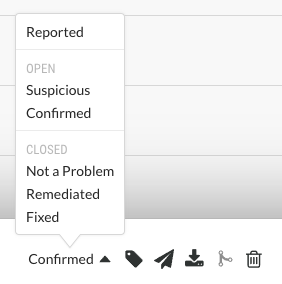
To edit multiple vulnerabilities at a time, use the check marks in the left column to select the vulnerabilities you want to edit. In the batch action menu that appears at the bottom of the page, you will see the current status. Click to expand the menu.

Select a new status according to these criteria.
Note
An Organization Administrator can require approval before some vulnerabilities can be closed.
If this is the case, you will be required to submit a reason for your your status change, and it will be set to Pending until it can be reviewed by an an Organization Administrator or a RulesAdmin. Hover over Pending in the Status column to see the date it was submitted.

You may change the status of a pending vulnerability. If approval isn't required for the new status, the vulnerability is no longer marked as Pending.
You will receive a notification when your status change request is approved or denied by an administrator. If denied, the vulnerability will go back to its previous state; but, the administrator must provide a reason for the decision. That reason will appear in the vulnerability's Activity tab.
In the window that appears, select a reason (in the case of Not a problem) and enter an explanation for the status change. It is possible to set a custom reason that vulnerabilities are Not a problem.