Update the .NET Core agent
Contrast frequently releases new versions of agents, these steps show you how to easily update the NuGet package or the manual .NET Core agent and keep it updated. To update the agent by installation:
.NET Core agent agent for IIS installer: use the Agent upgrade service.
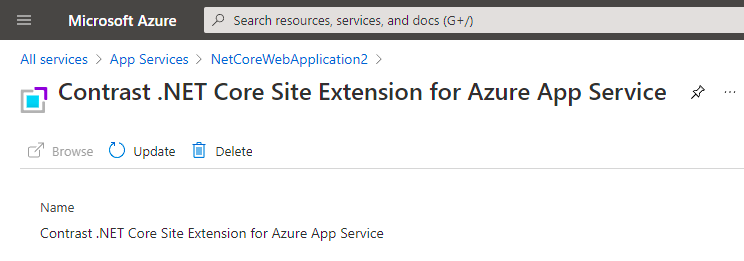
Azure App Service: Use the Azure portal.

Manual installation: use the instructions below to set up your own automation.
Confirmed your .NET Core application runs properly without the Contrast .NET Core agent.
Previously installed the Contrast .NET Core agent.
Defined a policy for how and when to update the agent, based on your change management policy and the environment where you deploy agents.
An existing workflow to manage and keep application dependencies updated.
Download the Contrast .NET Core agent to the same installation location by using the Contrast repository:
Hosted: Contrast synchronizes .NET Core agent releases with public NuGet repositories.
On-premises: Contrast does not recommend using newer versions of Contrast agents than those available from your Contrast instance. Use the same version of the .NET Core agent version you would otherwise download directly from the Contrast web interface.
Get the following API information
CONTRAST_URL=<TeamServer URL e.g. https://app.contrastsecurity.com >
ORG_ID=<YOUR TEAMSERVER ORGANIZATION ID>
AUTH_TOKEN=<YOUR TEAMSERVER AUTHENTICATION TOKEN>
API_KEY=<YOUR TEAMSERVER API KEY>
Use one of the following scripts to download Contrast .NET Core agent. Include the script in the application startup script, automated deployment pipeline, or add the script as a cron job to automatically update the agent.
Bash script
CONTRAST_URL=https://app.contrastsecurity.com
ORG_ID=xxxx
AUTH_TOKEN=xxxx
API_KEY=xxxx
curl -X GET $CONTRAST_URL/Contrast/api/ng/$ORG_ID/agents/default/DOTNET_CORE /-o ./Contrast.NET.Core.zip -H 'Authorization: $AUTH_TOKEN' -H 'API-Key: $API_KEY' /-H 'Accept: application/json' -OJ
Powershell
$ContrastUrl = "https://app.contrastsecurity.com/Contrast"
$UserId = ""
$ServiceKey = ""
$ApiKey = ""
$OrganizationId = ""
$InstallPath = ".\dotnet-core"

# Needed if the OS defaults to Tls1.1.
[Net.ServicePointManager]::SecurityProtocol = [Net.SecurityProtocolType]::Tls12

New-Item -ItemType Directory $InstallPath

Invoke-WebRequest `
    -Uri "$ContrastUrl/api/ng/$OrganizationId/agents/default/DOTNET_CORE" `
    -Headers @{
        "API-Key"       = $ApiKey
        "Authorization" = [Convert]::ToBase64String([System.Text.Encoding]::UTF8.GetBytes("${UserId}:${ServiceKey}"))
    } `
    -OutFile "$InstallPath\Contrast.zip"

Invoke-WebRequest -Uri `
    "$ContrastUrl/api/ng/$OrganizationId/agents/external/default/DOTNET_CORE" `
    -Headers @{
        "Accept"        = "text/yaml"
        "API-Key"       = $ApiKey
        "Authorization" = [Convert]::ToBase64String([System.Text.Encoding]::UTF8.GetBytes("${UserId}:${ServiceKey}"))
    } `
    -OutFile "$InstallPath\contrast_security.yaml"

Expand-Archive "$InstallPath\Contrast.zip" -DestinationPath $InstallPath
Remove-Item "$InstallPath\Contrast.zip"
Unzip the downloaded file and save the contents to the current Contrast agent location. If you do not know the location, you can look up the environment variables using the command for your system.
Windows (64-bit)
echo %CORECLR_PROFILER_PATH_64%CORECLR_PROFILER_PATH_64
Windows (32-bit)
CORECLR_PROFILER_PATH_32
Linux (64-bit)
CORECLR_PROFILER_PATH_64
Powershell
printenv CORECLR_PROFILER_PATH_64